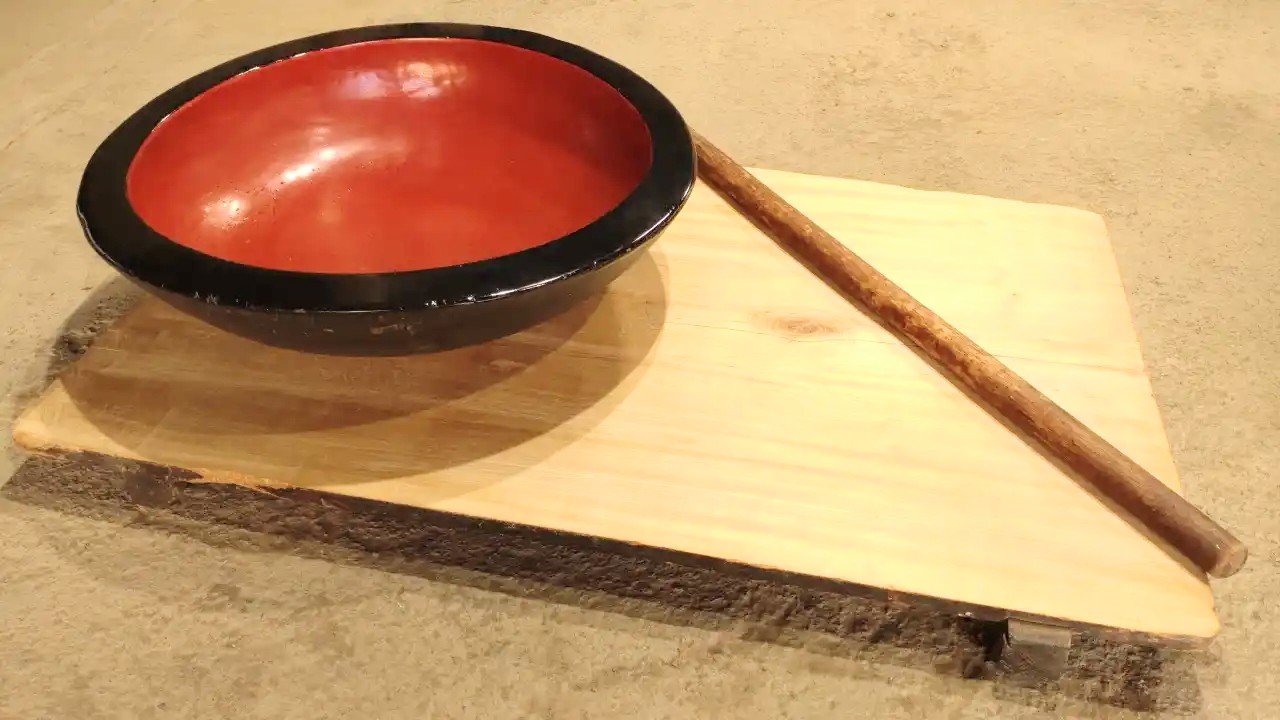
At Grandma’s house, there are tools for making handcrafted soba.
These tools, estimated to be made nearly 100 years ago, were occasionally used by Second son’s father’s mother to make udon when she was alive.
In Japan, there are various types of kneading bowls, ranging from those made of natural wood to resin, in different sizes. In the case of wooden ones, even large bowls are created by hollowing out a thick board into a mortar-like shape, giving them an imposing presence that doesn’t seem easily producible (using solid wood without laminated materials).
Recently, it seems that many people have taken up soba or udon making as a hobby, and smaller resin kneading bowls for kneading small amounts of flour are commonly seen.
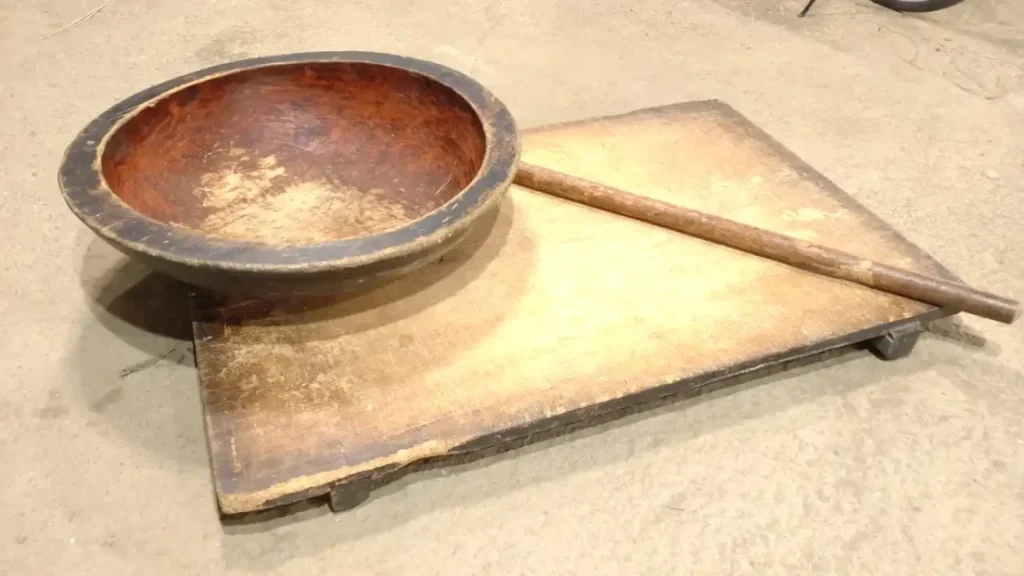
The kneading bowl at the family home has been neglected for the past 20 years since Second son’s grandmother passed away.
Though Second son occasionally thinks about trying his hand at making soba, he has decided to take on the challenge of reviving this vintage kneading bowl, which has fallen out of use, as both a DIY project and a homage to the past.
On the second floor of the main house, Grandma used the kneading bowl as a catch basin for leaks (laughs).
After dusting off the thick layer of dust covering it, an inspection revealed no major cracks or signs of insect damage, which was a relief.
However, simply cleaning and using it wouldn’t be enjoyable, so it was decided to proceed with repairs.
The repair involves surface coating.
Soba-making Tool Repair Finishing
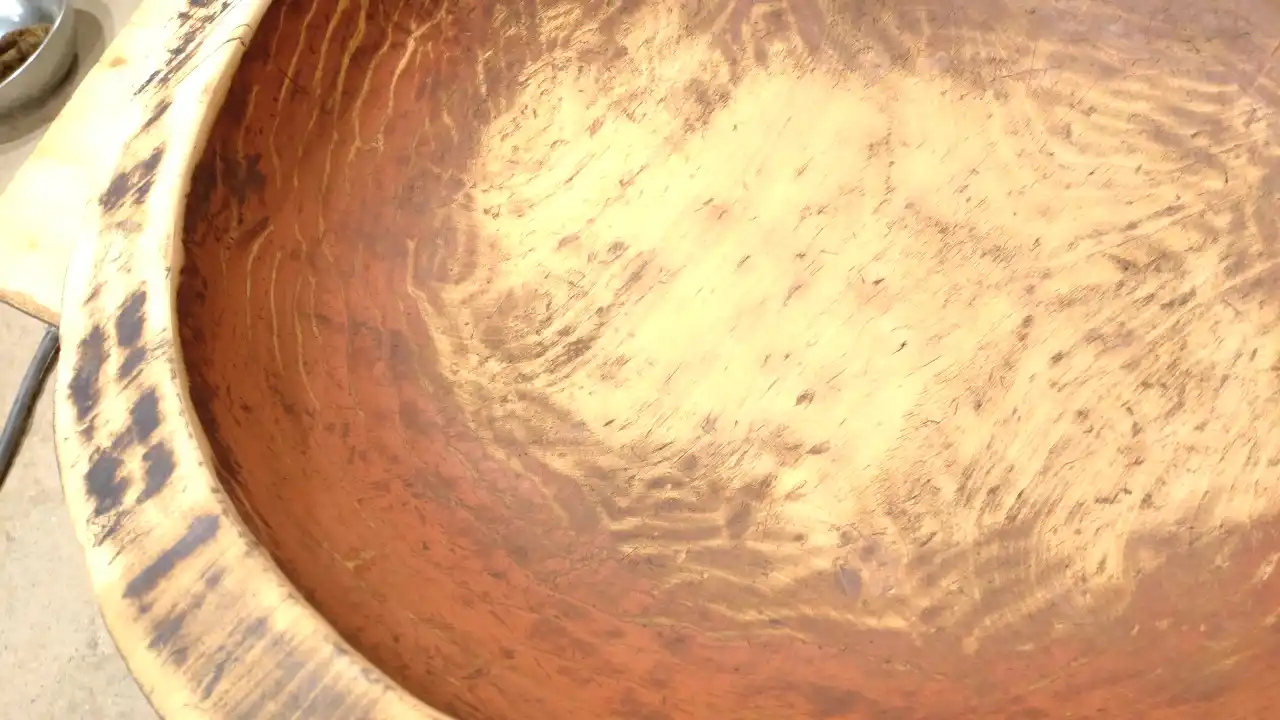
Although there were some scratches and a shallow crack of about 10 cm on the kneading bowl, it was decided to leave most of the minor damage as it is and proceed with the coating.
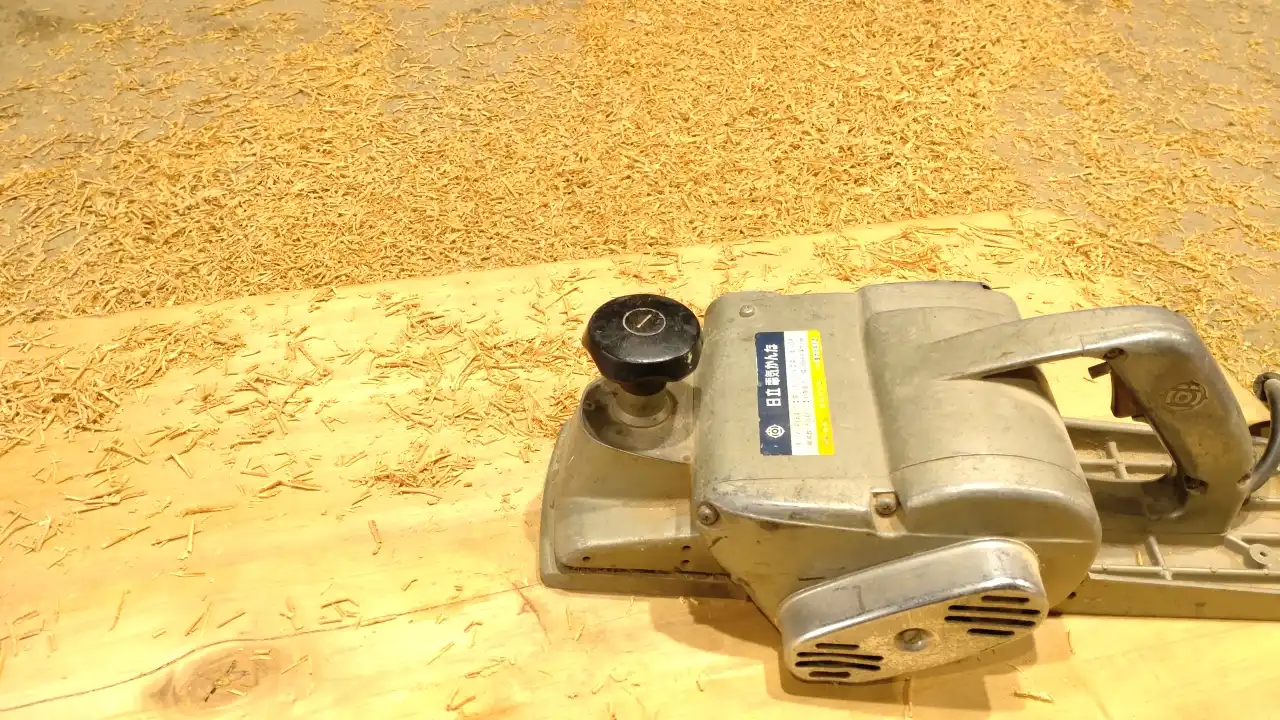
While working on the kneading bowl repair, Second son also took on the repair of the extension board (noshidai).
As expected, the extension board, which seemed to have been seasoned for several decades, had wheat flour and dirt firmly attached to the surface and was left in a neglected state.
Furthermore, there were traces of rodent nibbling and insect damage, so it was decided to start the repair by scraping off the surface with an electric plane.
Although it could have been completed in one go, the work proceeded intermittently after using the plane.
In parallel with the kneading bowl repair, Second son utilized the waiting time for drying in the ‘kneading bowl coating’ to work on other tasks.
The painting plan for the kneading bowl regeneration involved three layers of coating.
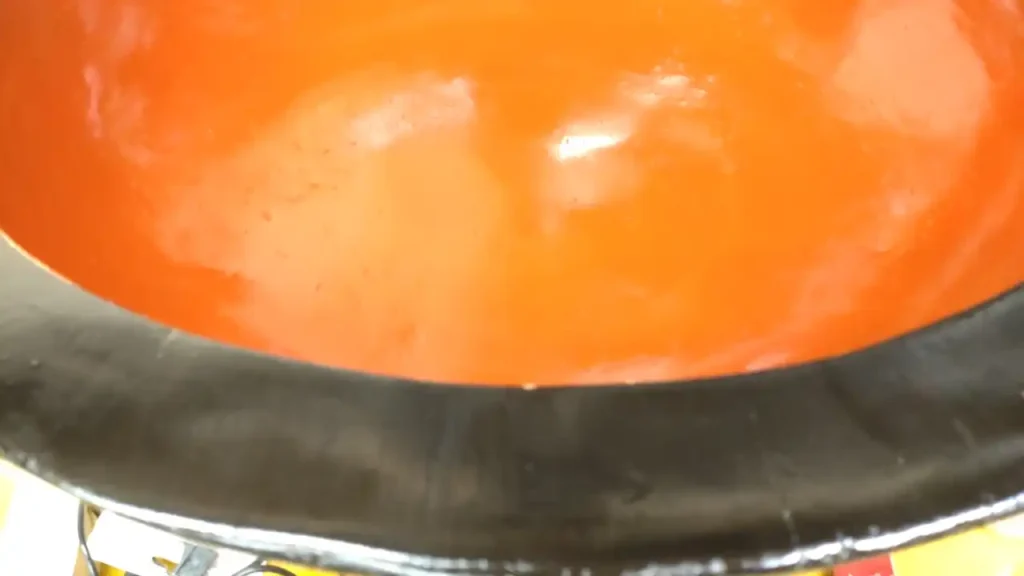
The upper photo shows the completion of the first undercoat of ‘craft urushi’ on both the inside and outside, and the next week’s workday began with sanding the dry undercoat.
After painting and drying, the process involves sanding with paper twice, and finally finishing with paper and compound. Thus, the process involves painting once, sanding with 400 → 600 → 800 grit paper in sequence, and painting again.
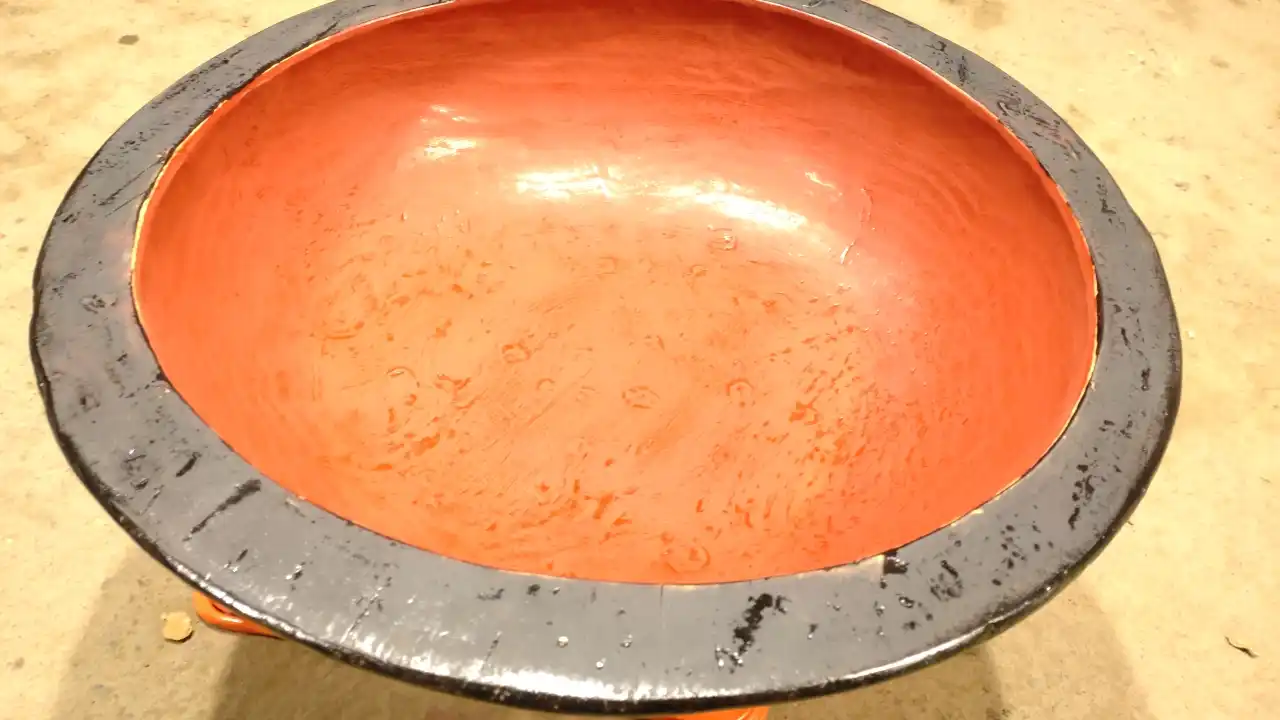
Looking at the images, one might think, ‘Isn’t it already good as it is?’ because it appears almost perfect.
However, there are points that Second son is not satisfied with.
The most concerning is that it’s too shiny (laughs).
Though it is natural for the repaired and newly painted kneading bowl to be shiny, Second son can’t help but think, ‘It lacks the charm of antique items!’ and finds it bothersome.
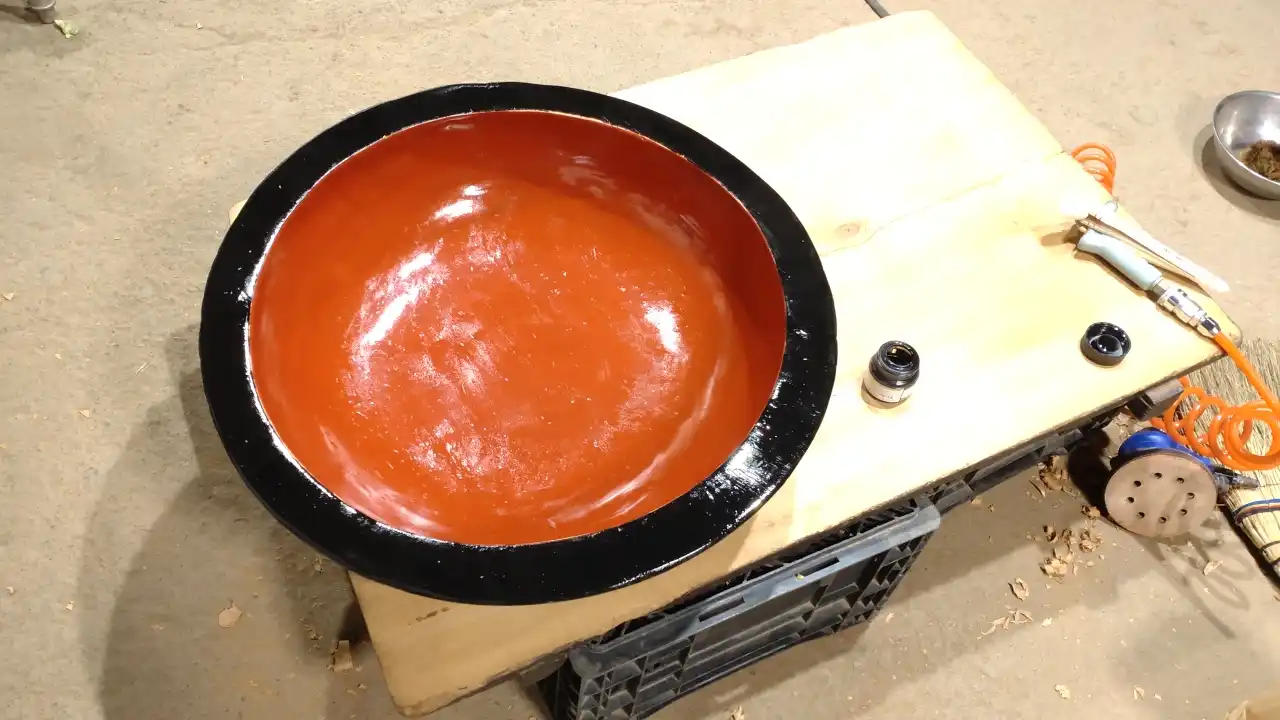
Hypothetically, if the surface were sanded with fine sandpaper to achieve a matte (dull) finish, any depressions in the substrate would retain gloss only in those areas, making them stand out. To avoid this, it was decided to finish the work with a semi-gloss, and the process continued.
After repeating the coating three times on the kneading bowl, Second son gradually refined the paper from 600 to 2000 grit. Ultimately, he decided to finish the surface by checking its condition with compound.
While grappling with the fear of revealing the underlying wood by sanding too much, Second son compromised within the acceptable range.
… As usual (laughs).