

It’s quite common in Japan for people to sharpen their own kitchen knives at home, and this is especially true for farmers who need to maintain the sharpness of tools used for harvesting.
I grew up watching my dad use knives and tools, and somehow I naturally picked up the basics of knife sharpening. Later, when I worked in the food service industry, I had the opportunity to sharpen knives almost every day.
Recently, I sharpened some knives at my parents’ house on a Sunday, so I thought I’d share the process with a bit of explanation. At the end of this page, I’ve included videos of me actually sharpening a knife and testing its sharpness, so I hope you enjoy those.
First, I’d like to touch on the differences between Japanese and Western knives.
Differences Between Japanese and Western Knives
While many Japanese households today use knives similar to Western styles, traditional Japanese knives are mostly single-edged.
A single-edged knife (kataba) has a beveled edge on only one side of the blade. The other side is almost flat, making it ideal for cutting straight, slicing thinly, and precise work. These knives are mainly used in Japanese cuisine and are well-suited for preparing sashimi, sushi, and intricate vegetable cuts.
On the other hand, Western knives typically have a bevel on both sides (double-edged), which makes them suitable for cutting straight through ingredients with force. The characteristic difference, I think, is that single-edged knives emphasize sharpness and delicate control, while double-edged knives prioritize versatility and ease of handling.
Personally, the knife I use most often is a double-edged chef’s knife (gyuto), but I use a Japanese-style filleting knife (deba bocho) when I’m breaking down larger fish.
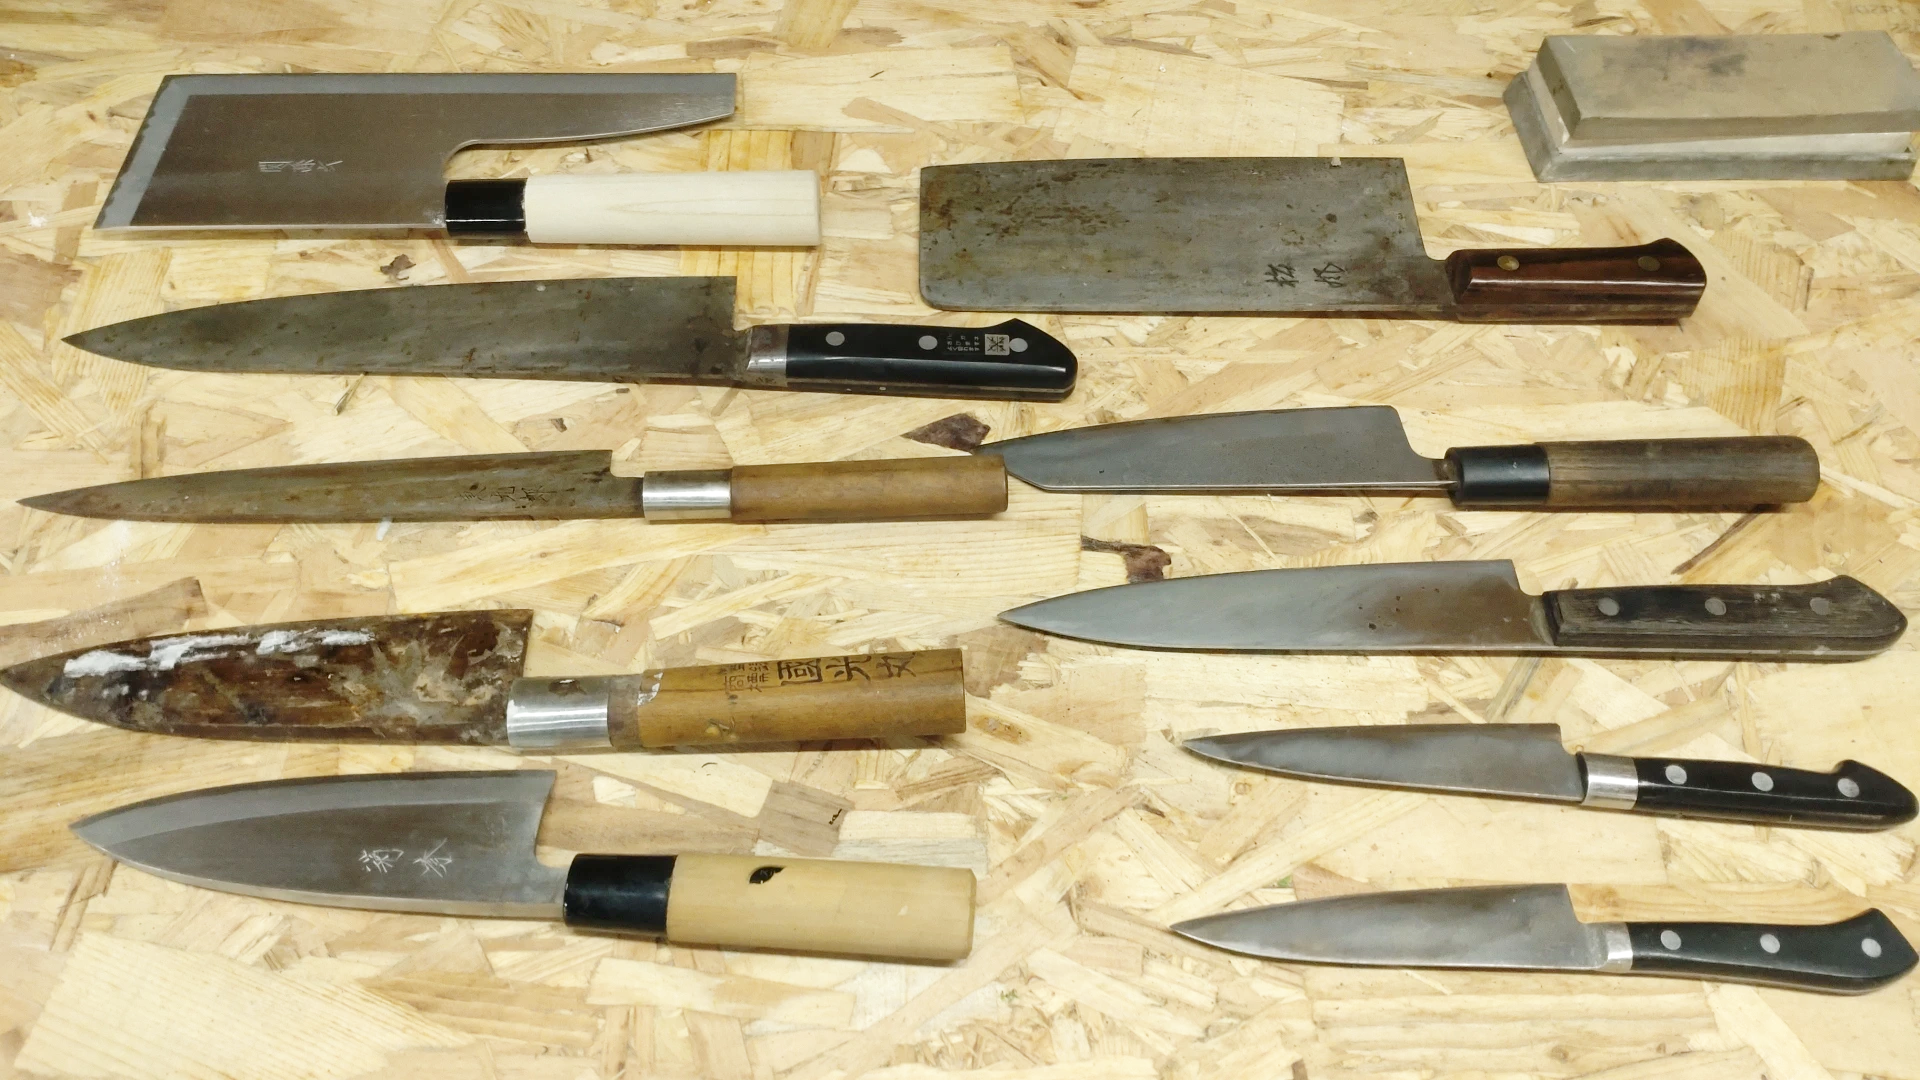
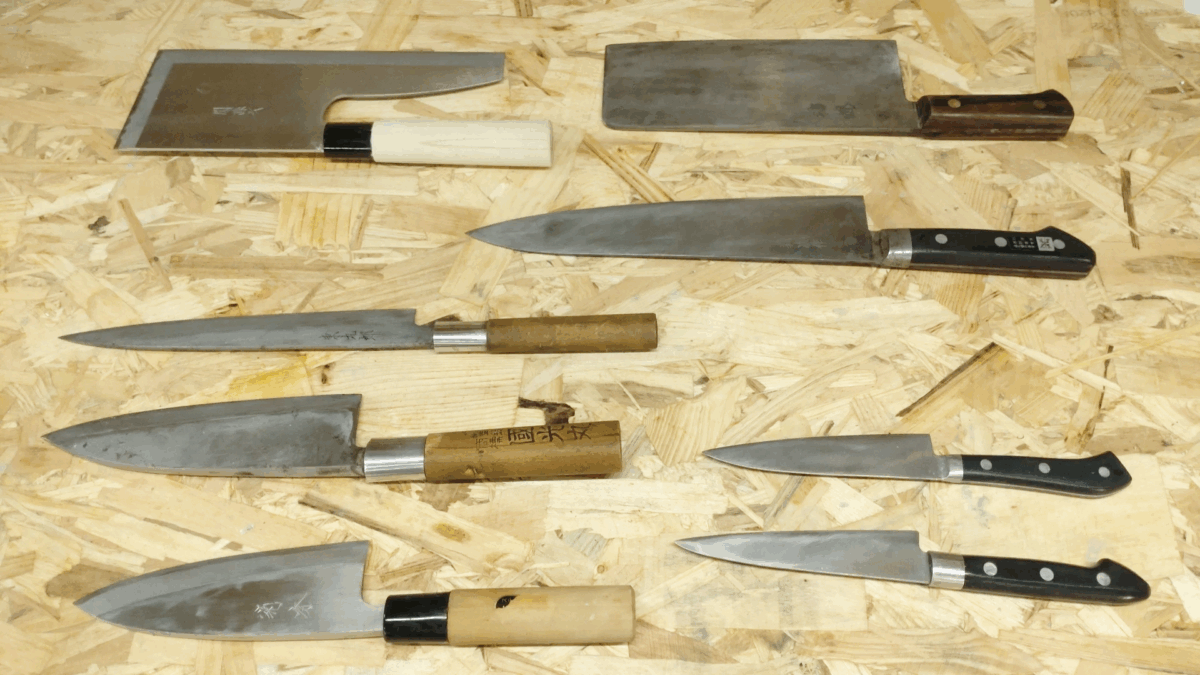
On this particular day, I ended up sharpening 11 knives. Including those not in the photo and some I brought from my own home to sharpen, I actually had 18 knives in total. However, most of them were double-edged. At home, my wife prefers to use smaller knives like a paring knife.
By the way, the knife in the upper left of the photo is a “soba kiri,” a specialized knife for cutting noodles. I use it occasionally when I make soba noodles, but I imagine it’s not something many households own. The one in the upper right is a Chinese-style cleaver that I bought when I was attending culinary school, but I rarely use it now.
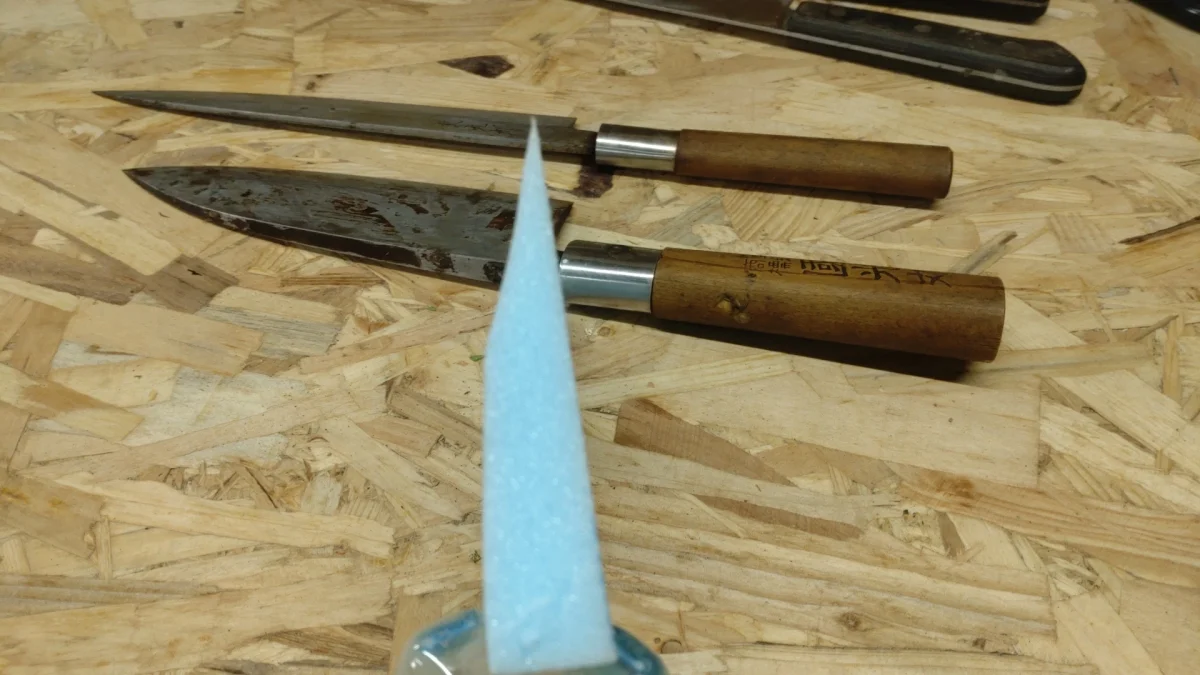
The two knives in the lower left are deba bocho for preparing fish, and the long, slender knife above them is specifically for slicing sashimi.
Preparation and Tools for Sharpening Knives
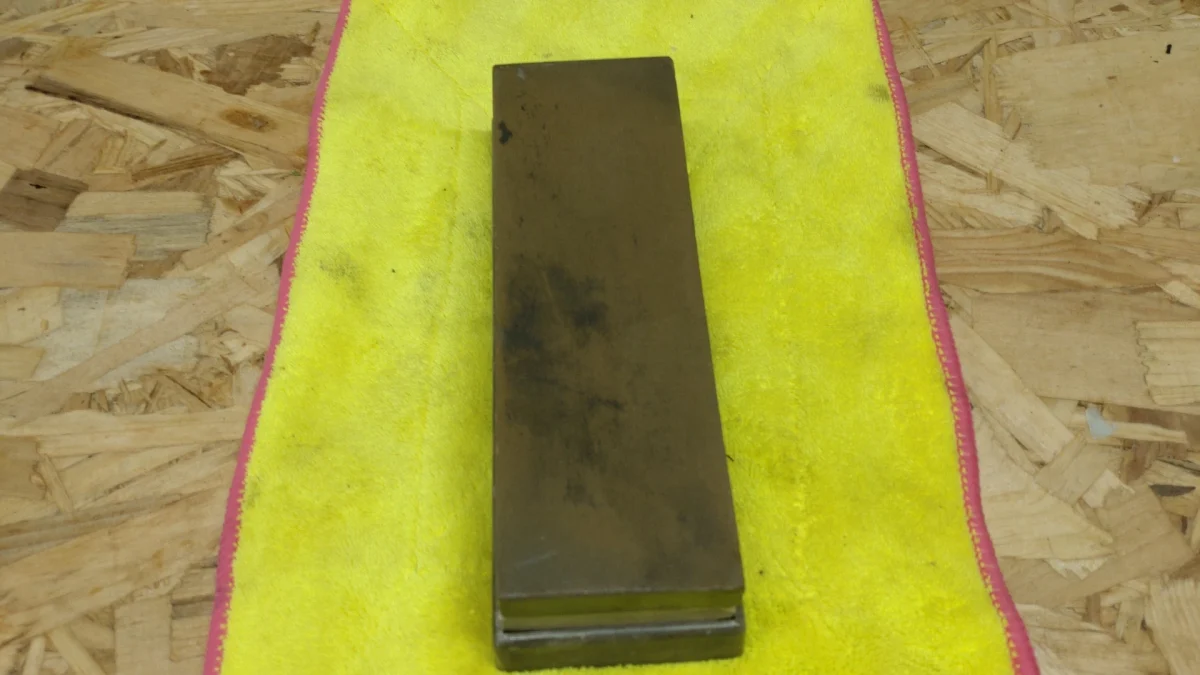
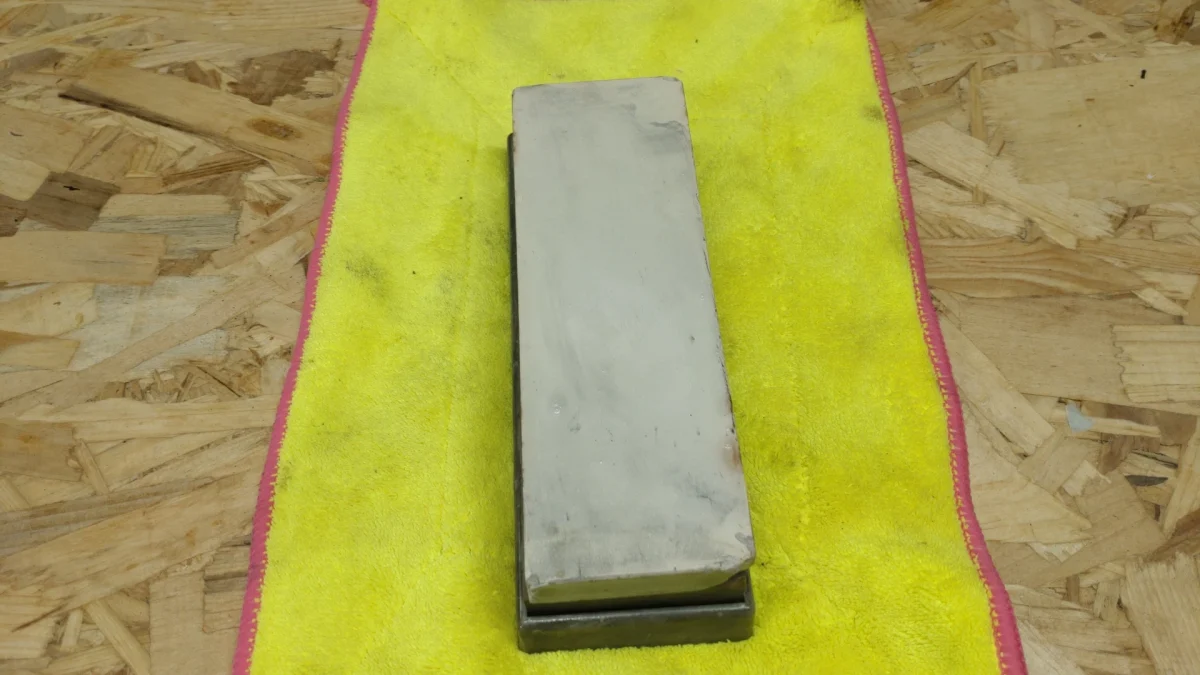
To sharpen knives, you’ll need a whetstone (toishi).
The whetstone I own is a relatively inexpensive one, with a coarse side and a finishing side. In reality, there are various whetstones available, including those suitable for coarse, medium, finishing, and intermediate stages. I believe you’ll need at least two types: a medium and a finishing stone, or a coarse and a finishing stone.
If you sharpen your knives frequently, a finishing stone alone will usually suffice. However, if there are chips in the blade or if it’s been a while since you last sharpened your knife, it’s best to start with a coarse stone to reshape the entire edge and then use the finishing side.
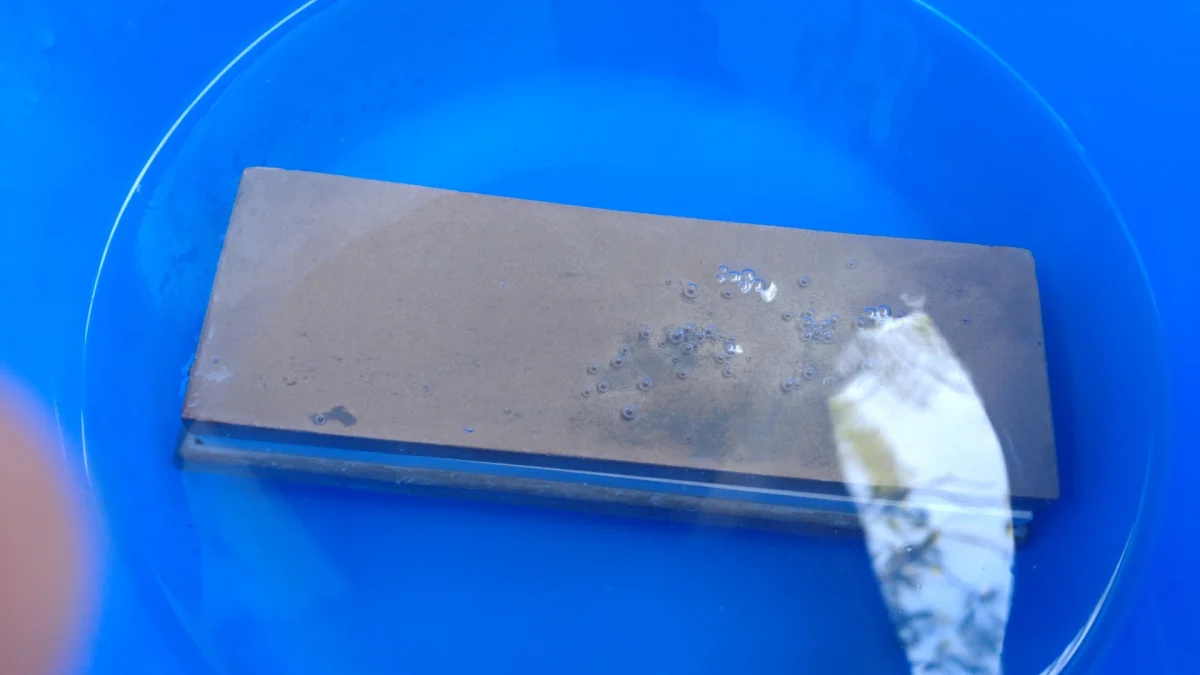
First, the whetstone must be soaked in water until it’s fully saturated. Never use it dry. Also, since you’ll be using water during the sharpening process, it’s a good idea to have a small bowl of water nearby that you can easily scoop from with your hand. Additionally, prepare a cloth or towel to place under the whetstone to prevent it from slipping on the counter.
As for the knives you’ll be sharpening, if they have significant rust, you should remove it beforehand. However, as you probably know, it’s strictly forbidden to grind blades with a common power grinder, as the heat generated during the process can weaken the steel. On this day, I soaked a paper towel in edible vinegar, wrapped it around the rusty areas of the knives, and let it sit for about 20 minutes to remove the rust. Any rust that doesn’t come off with vinegar can be removed with the whetstone, so there’s no need to worry too much about it.
Basic Sharpening Method
Once you’re prepared, let’s try sharpening a knife.
Since you’ll be adding water during the process, I recommend sharpening in a place like the kitchen where it’s okay if water splashes around. It’s helpful to approach the task with the mindset of “polishing” rather than “grinding” to achieve good results.
1.Prepare the tools:
Whetstones (medium grit, and if necessary, coarse and finishing grits)
A stable base for the whetstone (non-slip)
Water (to wet the whetstone and the knife)
Cloth or towel (to wipe the surroundings)
Soak the whetstone:
Submerge the whetstone in plenty of water and leave it until air bubbles stop appearing (about 5 to 10 minutes).
2.Determine the angle:
The basic angle between the blade and the whetstone should be between 15 and 20 degrees (around 20 degrees for hard Western knives and around 15 degrees for Japanese knives). Also, position the knife and whetstone at approximately a 45-degree angle when viewed from directly above.
3.Sharpen one side at a time:
Maintaining the determined angle, slide the knife back and forth. Apply light pressure when pushing forward and ease the pressure when pulling back. Overall, don’t apply excessive force pressing the blade against the whetstone. Gradually shift the position of the knife to sharpen the entire length of the blade evenly. (Be careful not to concentrate on one area.)
Start with about 10 strokes on the medium grit, then switch to the finishing grit and repeat for about 15 strokes.
*Note: The number of strokes will vary greatly depending on the condition of the knife and the grit of the whetstone, so it’s best to start with a smaller number and test.
4.Remove the burr (kaeri):
As you sharpen the knife, a “burr” (a fine, rough edge) will form on the opposite side of the blade that is in contact with the whetstone. To remove this burr, lightly run both sides of the blade alternately over the whetstone with a gentle, stroking motion. (Don’t scrub; just a light touch.)
Check the sharpness:
After sharpening, test the sharpness by lightly slicing paper or peeling the skin of a tomato. If the sharpness is uneven, repeat the same process lightly to make adjustments.
5.Finishing and cleanup:
Thoroughly wash off any whetstone residue from the knife.
Important:
When sharpening, a black liquid will appear as the blade and whetstone rub together. This is a sign that the friction between the blade’s edge and the whetstone is stable, leading to a finer and more even sharpening result, so there’s no need to remove it. Also, if the whetstone dries out during sharpening, add a little of the water you prepared in the bowl to adjust.
*For single-edged knives:
Sharpen the front side evenly at an angle of about 15 degrees to create a burr. Then, lightly stroke the back side without applying an angle to remove the burr. Finally, use a finishing whetstone to refine both the front and back sides for a smooth finish.
Knife Sharpening and Test Cutting Videos
It was my first time sharpening knives while filming, so I was a bit nervous. I’ve also included a video of me testing the sharpness, but while the blade was sharp, my movements were clumsy, so it might not look very impressive (laughs).
Additional information:
- Whetstone (砥石 – toishi): A stone used for sharpening the edges of steel tools and implements, such as knives, scissors, scythes, and razors.
- Kataba (片刃): Single-edged, referring to a blade with a bevel on only one side.
- Ryoba (両刃): Double-edged, referring to a blade with bevels on both sides.
- Kaeri (かえり): A burr or very fine, rough edge that forms on the opposite side of the blade during sharpening. It needs to be removed for a sharp edge.

